Flashlight Assembly and Waterproofing Process Guide
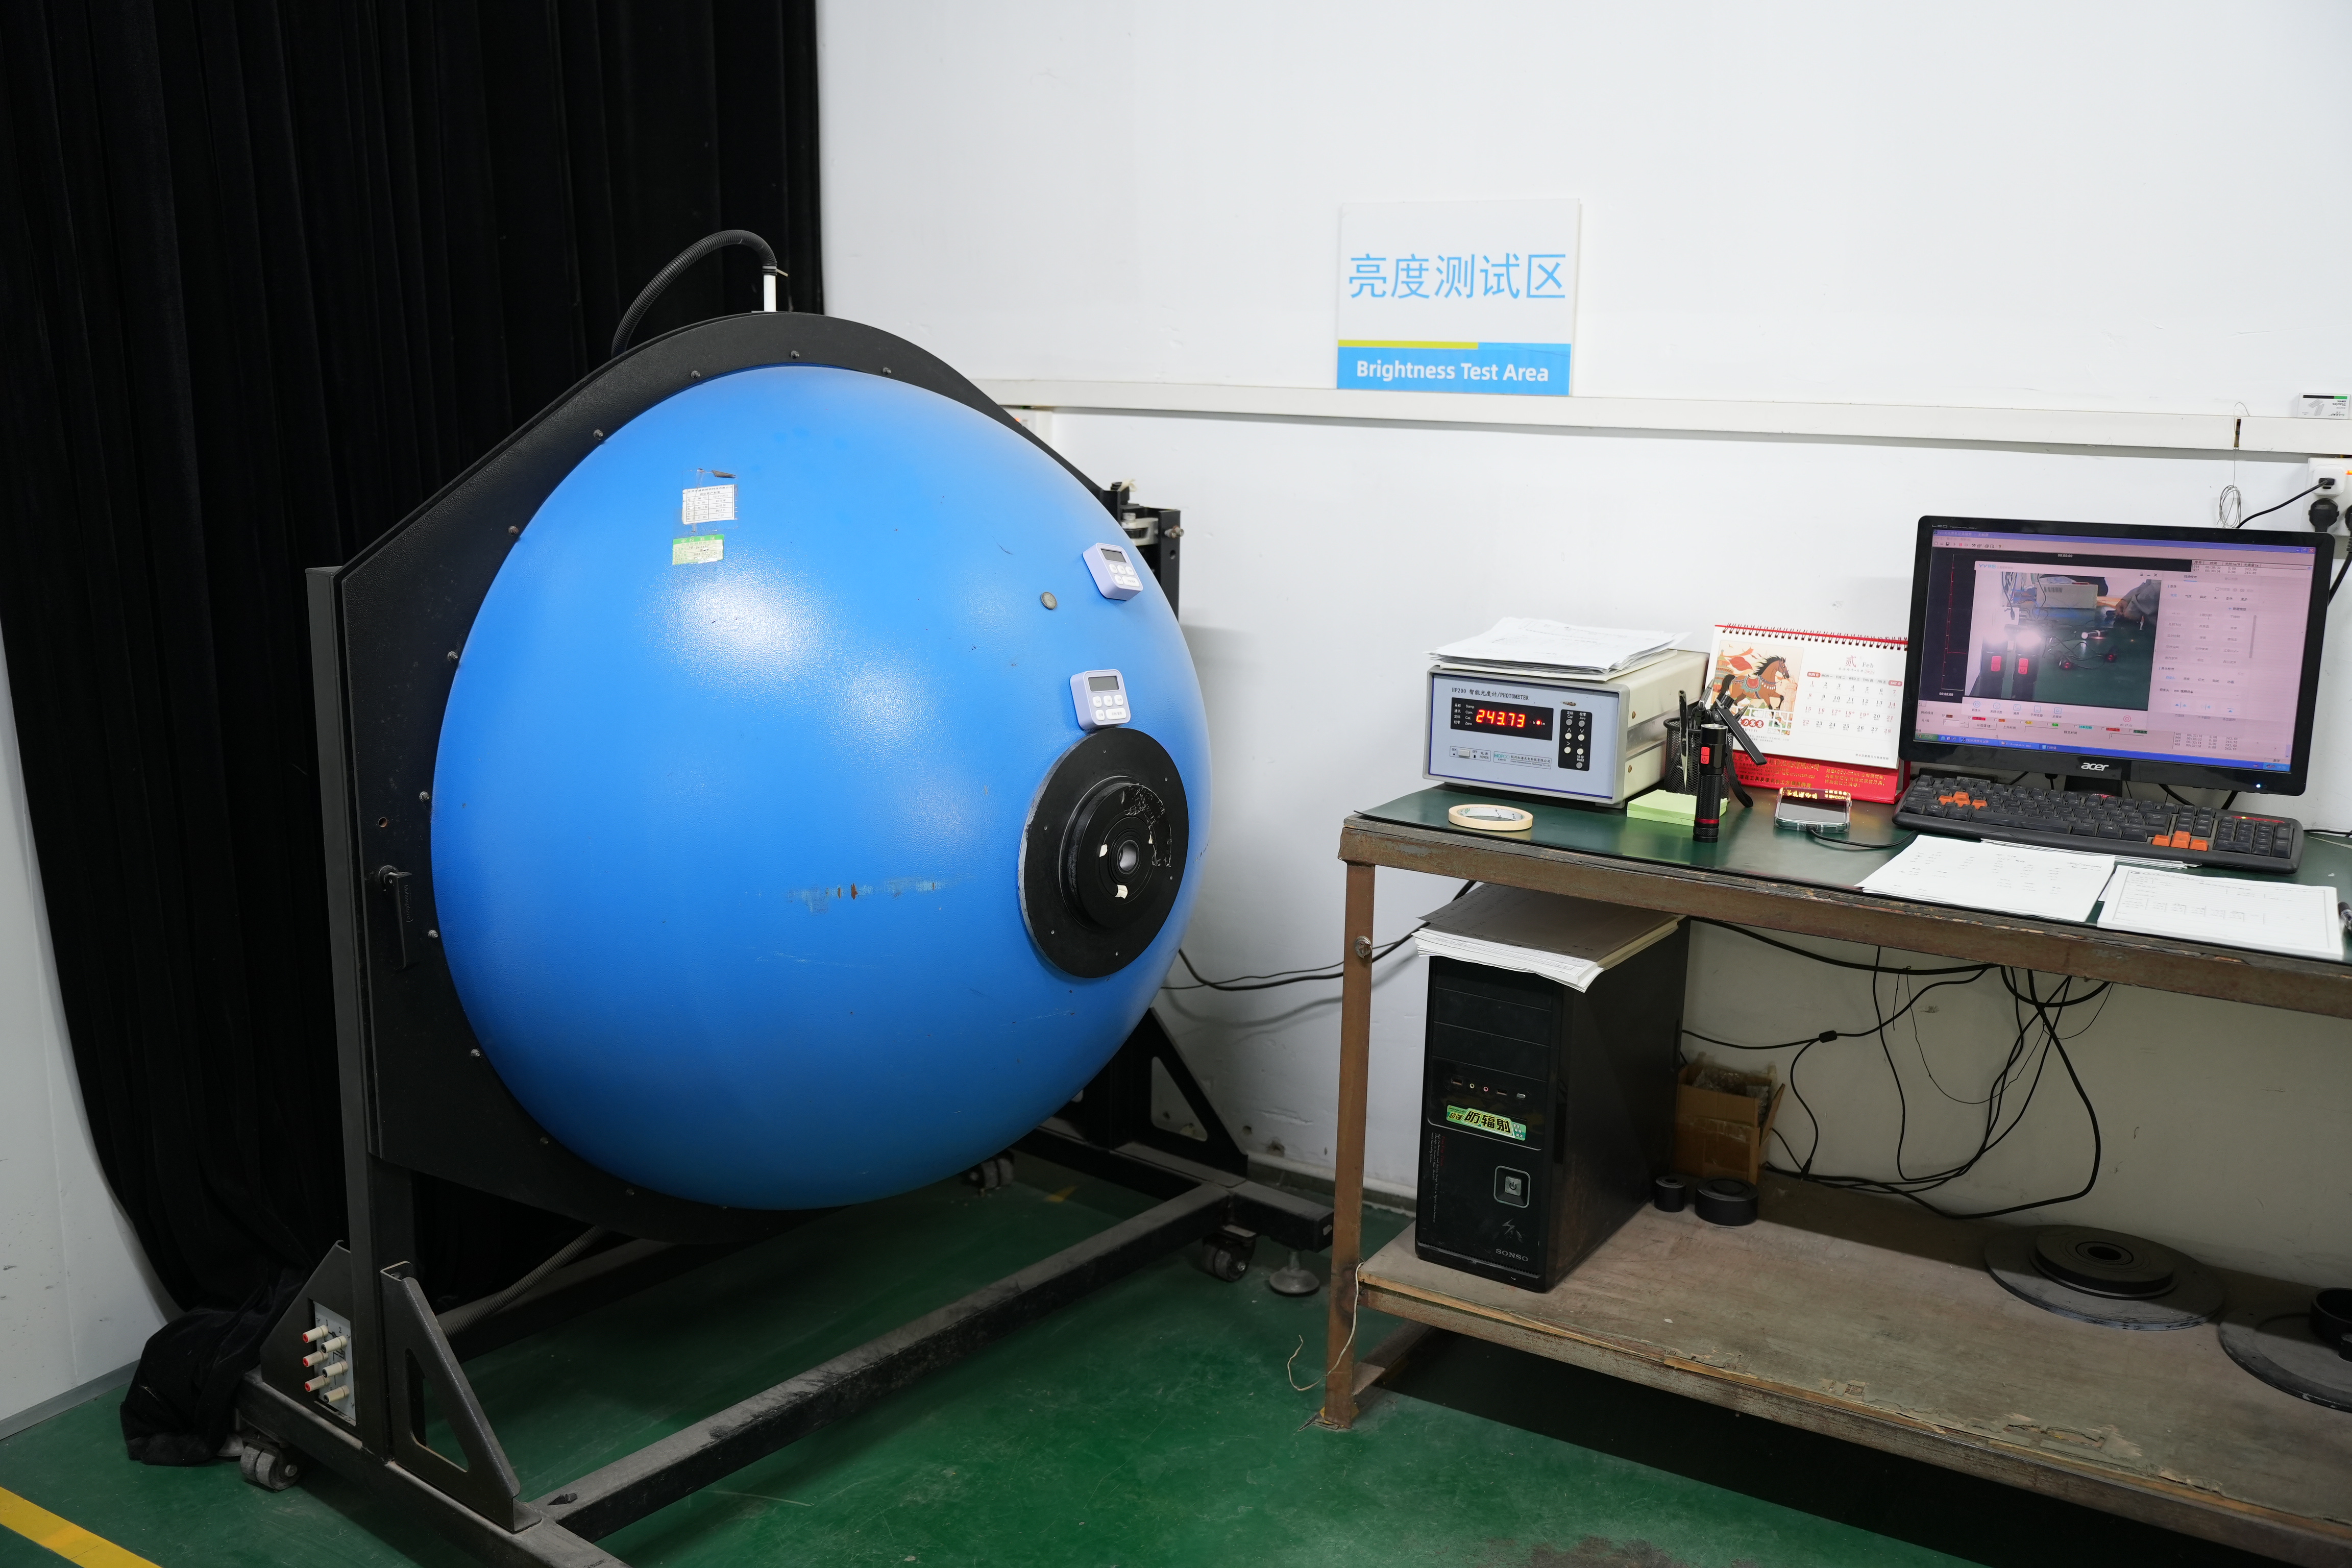
Direct answer: a reliable flashlight assembly and waterproofing process is not a single coating or final water test. It is a controlled chain that begins with compatible housing and seal design, continues through cleanliness, electrical and thermal integration, O-ring handling and repeatable tightening, and ends with inspection performed under defined conditions. If one interface is poorly designed or inconsistently assembled, a product can leak even when the other parts are well made.
For sourcing teams, the practical question is therefore not simply “Is this flashlight waterproof?” A useful evaluation asks which model, configuration and test condition support the claim; where the sealing interfaces are located; how assembly variables are controlled; and how production units are checked. This guide explains the engineering logic and the evidence a buyer can request without assuming that every factory, line or flashlight model uses the same equipment or process.
01.Water Resistance Starts at the Product Interfaces
Water enters through paths, not through marketing labels. Common interfaces include the front lens and bezel, head-to-body joint, tailcap threads, charging-port cover, switch boot, side-button opening and any fastener or cable penetration. Each interface needs a sealing concept that remains effective after assembly and during intended use.
An O-ring works by being compressed between controlled surfaces. Too little compression can leave a leakage path; too much can damage the seal, increase operating force or accelerate deformation. Groove dimensions, surface finish, material hardness, lubricant compatibility and tolerance stack-up all affect the result. A seal selected for one temperature or chemical environment may not suit another, so the application must be defined before a material is specified.
Threaded joints and user-serviceable parts
Tailcaps and threaded heads introduce another variable: the user repeatedly opens them. Thread finish, debris, damaged seals and incorrect reassembly can change performance over time. The design should make the seal visible enough to inspect, difficult to pinch, and replaceable when service is expected. Instructions should also state whether lubrication is permitted and which lubricant is compatible with the seal material.
02.Optical, Electrical and Thermal Integration
The optical stack normally brings together the LED or LED board, reflector or lens, protective window, centering component and bezel. Dust, fingerprints or misplaced parts can affect appearance and beam quality. “Clean assembly” should therefore mean defined handling, protected components and inspection criteria—not an unsupported claim that a particular cleanroom class is used.
Electrical integration must protect polarity, insulation, solder joints, wiring clearance and contact pressure. A wire trapped beneath a component can be both an electrical risk and a mechanical obstruction. A connector that is not fully seated may pass a quick power-on check and later fail under vibration or repeated switching. Assembly instructions should identify critical routing and connection points, while inspection should verify function in every intended control mode.
Thermal integration is equally important because output, runtime and component life depend on heat movement. The LED board must contact its heat-spreading surface as designed. Excess or insufficient interface material, uneven mounting pressure, burrs or contamination can add thermal resistance. The correct method depends on the architecture; buyers should request the model-specific construction and validation basis rather than assuming a particular paste, adhesive or joining technology.
For an overview of product architectures that may use different optical and sealing arrangements, compare the flashlight range with hands-free formats in the headlamp category. The relevant controls depend on the selected construction, not just the category name.
03.A Practical Flashlight Assembly Sequence
Confirm part identity, visible condition and critical dimensions or certificates defined by the control plan. Segregate damaged or mixed components.
Protect optical surfaces, check grooves and sealing faces, and remove debris using an approved method that will not damage coatings or elastomers.
Install the optical, electrical and thermal parts in the specified order. Verify polarity, routing, seating and mechanical clearance.
Check seal identity and condition, apply only the specified lubricant if required, and prevent twisting, cutting or contamination during insertion.
Tighten critical interfaces using the defined method and acceptance window. A torque value is meaningful only with the joint design and test method.
Perform visual, functional and specified ingress checks; record failures, isolate nonconforming units and investigate recurring causes.
This is a general sequence, not a claim about one proprietary line. SHENGQI LIGHTING’s manufacturing overview provides broader company context; an OEM project still needs a model-level process flow, control plan and agreed acceptance criteria.
04.How Waterproofing Claims Should Be Verified
An ingress-protection code describes tested resistance to specified solid-particle and water conditions. It is not a promise that a product is suitable for every depth, duration, temperature, chemical exposure or user behavior. The exact procedure, sample condition, configuration and acceptance criteria matter. A charging cover left open, a damaged O-ring or a configuration different from the tested sample may invalidate the result.
Different test tools answer different questions. A pressure-decay or vacuum-based leak check may help identify an assembly leak when a validated correlation exists, but it is not automatically equivalent to an external ingress classification. Water spray, immersion or other environmental tests must follow the procedure relevant to the claim. A good control plan states what is tested during development, what is sampled during production and what—if anything—is checked on every unit.
| Evidence to request | What it should identify | Why it matters |
|---|---|---|
| Drawing or specification | Exact model, sealing interfaces and configuration | Prevents evidence from another variant being reused incorrectly |
| Material and component record | Specified seal, lens, housing and closure parts | Connects test results to the purchased construction |
| Test report | Method, samples, conditions, date and result | Shows the real boundary of the ingress claim |
| Production control record | Critical checks, frequency, limits and reaction plan | Shows how consistency is managed after qualification |
| Change-control evidence | Approved material, supplier or process changes | Protects the relationship between the tested and shipped design |
05.Buyer Audit Checklist for an OEM Project
- Define the use environment, expected exposure, service life and user-maintenance conditions.
- Identify every opening and joint on the exact product configuration, including charging and switch interfaces.
- Request a model-specific bill of materials or controlled specification for critical sealing parts.
- Confirm how cleanliness, part orientation, electrical routing and seal installation are checked.
- Ask which closure variables are critical and how the approved range was established.
- Review the ingress test method, sample quantity, configuration, acceptance criteria and report traceability.
- Separate design-validation testing from routine production inspection; they serve different purposes.
- Agree how failures, rework, component substitutions and engineering changes will be documented.
For private-label or custom development, these questions should be part of the technical agreement. The OEM and ODM service process is the appropriate commercial support page; this engineering guide remains focused on assembly and sealing decisions.
06.Frequently Asked Questions
Discuss the Assembly Controls for Your Product
Share the intended application, target configuration and required ingress condition. The next step is to review what can be verified for that exact project—not to rely on a category-wide promise.
Contact the Engineering Team