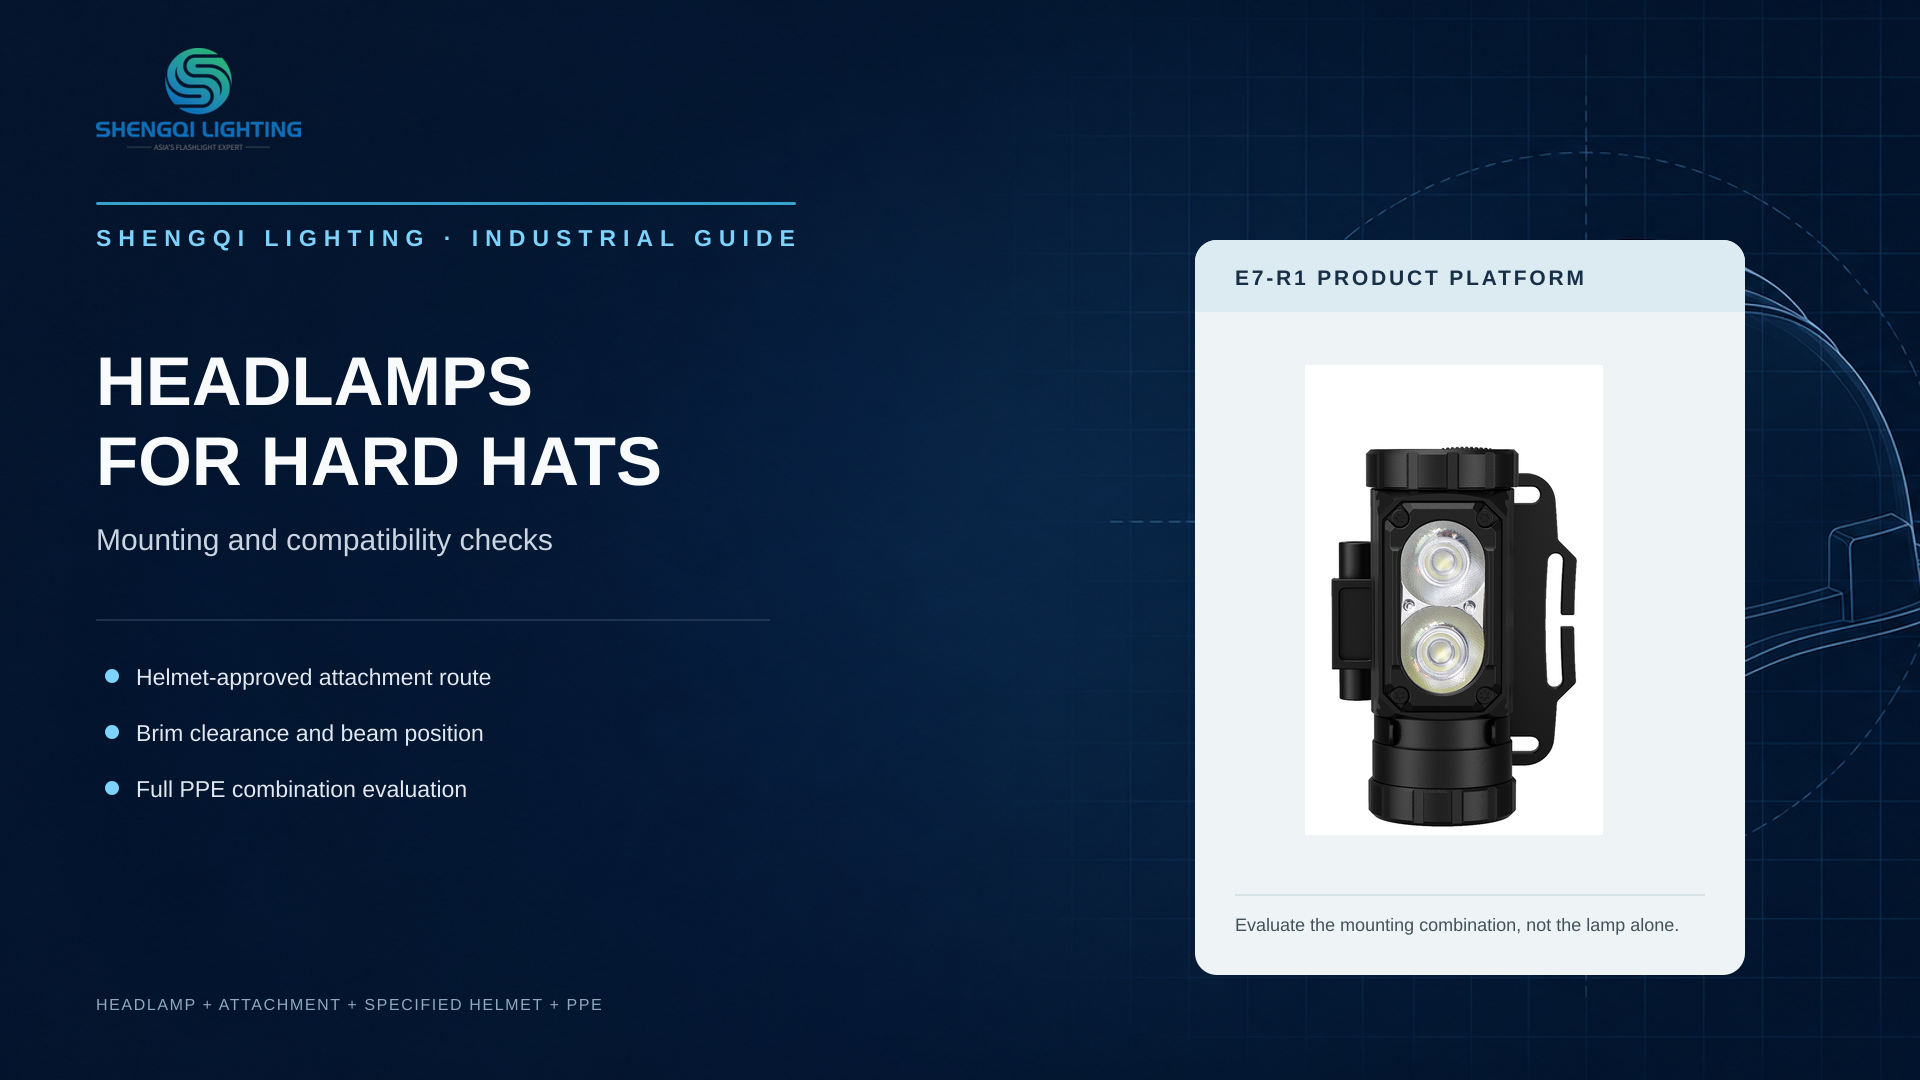
A headlamp for hard hat selection starts with the complete combination: the exact helmet model, the attachment method the helmet manufacturer allows, the headlamp, and the other Personal Protective Equipment (PPE) used at the same time. Then check whether the mounted light stays in position, clears the brim, reaches the required beam angle, and avoids interfering with face, hearing, or retention equipment. A headlamp that works well on a bare head is not automatically suitable for a particular hard hat.
Start With the Complete Helmet-and-Light System
A hard hat is not simply a curved surface for holding a light. Its shell, suspension, brim, accessory points, chin strap, and any approved add-ons work together as a protective system. Before comparing outputs or runtime, identify the exact helmet model and version, then review its manufacturer guidance for permitted accessories and mounting locations. The CCOHS guidance on protective headwear specifically advises checking with the manufacturer before adding accessories.
This is why “the strap fits” or “the clip can grip the edge” is not a compatibility conclusion. Shell curvature can change how a headband tracks around the helmet. A brim can affect downward illumination. A mounted lamp can compete for space with a face shield, earmuff arm, visor, or required marking. The useful question is not whether an isolated light can be attached; it is whether the specified combination can be used as intended within the helmet manufacturer’s allowed range.
Keep four questions separate: manufacturer permission for the helmet and accessory, physical fit of the attachment, practical lighting performance, and any site-specific approval requirement. A positive answer to one does not automatically answer the others.
Three Mounting Approaches, Three Different Checks
Headlamps for hard hats are often discussed as though there is one universal mounting answer. In practice, a headband used with existing retention features, a specified clip or removable bracket, and a designated adhesive mounting point create different compatibility questions. None should be selected from appearance alone.
| Mounting approach | What must match | Practical checks | Approval boundary |
|---|---|---|---|
| Headband with existing helmet retention features | Helmet shape, permitted strap path, existing retention points, adjustment range, and lamp position. | Observe whether the band rolls, climbs upward, twists, or changes the lamp position during normal movement. | A sufficiently long band does not prove that the helmet manufacturer allows this arrangement. |
| Specified clip or removable bracket | Exact helmet model, interface geometry, locking direction, approved location, and the stated lamp interface. | Confirm full engagement, check whether normal operation loosens the bracket, and check for conflicts with other PPE. | Descriptions such as “universal” or “standard slot” cannot replace model-specific compatibility information. |
| Specified adhesive mounting plate or fixed point | Whether the attachment and helmet manufacturer allow it, plus the applicable surface and maintenance requirements. | Check whether the approved location still leaves usable tilt range and room for required accessories. | Do not substitute a self-selected adhesive or improvised mounting method for an approved product instruction. |
A specific helmet system can have a deliberately limited accessory range. For example, MSA’s V-Gard H1 accessory guidance states that its own specified accessories are the products tested and approved as an integrated system for that helmet. This is an example of why a similar-looking clip should not be treated as interchangeable across helmet systems.
A Secure Mount Can Still Produce the Wrong Beam Position
Mechanical attachment and useful illumination must be evaluated together. A lamp may stay attached yet still create an unhelpful beam because the brim blocks its downward path, the bracket positions the lamp too far forward, or the usable tilt range changes after installation. More output does not solve a shadow created by the brim or a beam aimed above the work area.
Check Brim Clearance in the Actual Viewing Posture
A headlamp may illuminate a distant surface well while failing to reach a close inspection point when the wearer lowers their head. The relevant observation is the beam landing point during the posture used for the task, not only the beam shown on a wall. Check near targets, forward targets, and the change in beam placement when the wearer looks down through the helmet brim.
Check Usable Tilt Range and Position Retention
A published tilt range for a headlamp does not establish that every angle remains available after a bracket, helmet brim, or accessory frame is added. Look for contact points that limit adjustment. Then observe whether the lamp and attachment remain where they were placed after normal head movement and normal operation. The mounting position, lamp projection, and the way the bracket supports the load can matter as much as the lamp’s total weight.
Include Controls in the Fit Check
Pressing a control with gloves, changing an output setting, adjusting the lamp angle, or removing an allowed attachment can apply force to the mounting arrangement. Check whether those ordinary actions move the lamp, rotate the band, loosen a bracket, or conflict with the intended PPE configuration. This is a use-fit observation, not a substitute for protective-performance testing or formal approval.
Evaluate the Full PPE Combination
PPE means Personal Protective Equipment. A hard-hat headlamp should be checked with the equipment that will actually be worn, rather than with an empty helmet on a desk. Depending on the specified task, this can include hearing protectors and their support arms, safety eyewear, a face shield and its travel path, the chin strap, the suspension adjustment system, required labels or reflective markings, and any permitted external battery or cable arrangement.
Consider a setup with earmuffs and a lift-up face shield.
A headlamp may appear to fit when installed alone. Once the face shield is raised, however, its mechanism may contact the bracket. When the wearer looks down at a close target, the helmet brim may also interrupt the beam. The appropriate response is to re-check the allowed combination, placement, and task posture—not simply to select a brighter lamp.
Do not make room for a lamp by placing a battery, cable, lamp body, or other object between the shell and suspension. Do not remove, alter, or reposition existing protective components to accommodate lighting. Likewise, a headlamp’s stated ingress-protection or drop-resistance rating does not establish anything about the hard hat’s impact or electrical protection classification. These are separate product and system considerations.
A Practical Combination Evaluation Sequence
Begin functional evaluation only after confirming that the helmet, attachment, and intended mounting method are permitted by the relevant manufacturer requirements. The following sequence helps teams evaluate use compatibility in a controlled, non-hazardous setting. It does not replace helmet protection testing, approved-accessory requirements, or site safety management.
- Record the exact configuration. Note the helmet model and version, headlamp model and version, attachment part number, and any relevant PPE accessories. “Hard hat plus headlamp” is not a sufficiently specific record.
- Install according to the applicable instructions. Confirm that correct helmet fit, suspension function, and approved accessories are not affected. Do not replace product instructions with improvised installation steps.
- Observe position retention during ordinary movement. In a safe environment, use normal head turns, downward viewing, and ordinary control actions to see whether the lamp, band, bracket, or tilt setting moves.
- Check beam placement in work-relevant postures. Observe close targets, forward targets, and brim-related shadowing while recording the installed position and mode used.
- Repeat with the required PPE in place. Use the actual gloves and permitted face, hearing, or retention equipment to check access to controls and possible interference.
- Document unresolved items. Record the configuration, observed issue, responsible party, and the adjustment or clarification still needed. Project acceptance conditions should be agreed for the specific use case rather than assumed from generic thresholds.
Turn the Requirement Into a Clear Headlamp Project Brief
Brands and industrial channels can make early discussions more useful by describing the helmet system and working task before selecting features. A concise brief gives a lighting development partner enough context to discuss the practical relationship between mounting position, beam direction, controls, available space, and manufacturability.
System information
- Exact helmet model and public technical documentation.
- Permitted mounting routes and confirmed accessory limitations.
- Brim geometry, intended lamp position, usable space, and tilt needs.
Task information
- The work task, expected observation distance, and required beam placement.
- Other PPE worn at the same time and glove-use control requirements.
- Work-period expectations, permitted charging or battery-change approach, and validation needs.
This level of information does not require a complete internal drawing package at first contact. It simply makes it possible to define the right questions before a sample is evaluated as a complete combination.
Discussing an Industrial Headlamp Direction With SHENGQI LIGHTING
SHENGQI LIGHTING offers a headlamp range and can discuss project needs across industrial design, optical direction, electronic controls, structural considerations, and manufacturing scope. For a hard-hat application, the useful development question is not only which LED output to select. It is how the specified helmet position, beam direction, adjustment method, operating controls, surrounding PPE, and production requirements work together.
For projects that require a defined lighting platform or new product direction, explore headlamp design and development. When a project progresses to sample and specification records, SHENGQI LIGHTING’s production quality control information provides context for its general manufacturing process. Neither page establishes that a particular headlamp-and-helmet combination has been approved by a helmet manufacturer.
Frequently Asked Questions
Can a regular headlamp be used on a hard hat?
It depends on the specific hard hat, its allowed mounting method, the headlamp, and the complete PPE combination. A band that can stretch around a shell is not enough evidence that the arrangement is permitted or suitable for the intended work.
Are hard hat headlamp clips universal?
No universal conclusion should be made from a similar clip shape or a generic product description. Confirm the exact helmet interface, attachment model, locking direction, approved use range, and the headlamp connection method.
Is an adhesive mount acceptable on a safety helmet?
Confirm this with the relevant helmet and attachment manufacturer requirements. A no-drill installation is not automatically acceptable, and the correct approach is to use only an approved product and its applicable instructions rather than selecting adhesive materials independently.
Discuss Your Industrial Headlamp Project
Share the target helmet model, the already permitted mounting direction, the task environment, other PPE used with the helmet, and the main lighting requirement. SHENGQI LIGHTING can begin by discussing the headlamp requirement and development scope; final helmet-system approval remains dependent on the applicable helmet, accessory, and site requirements.