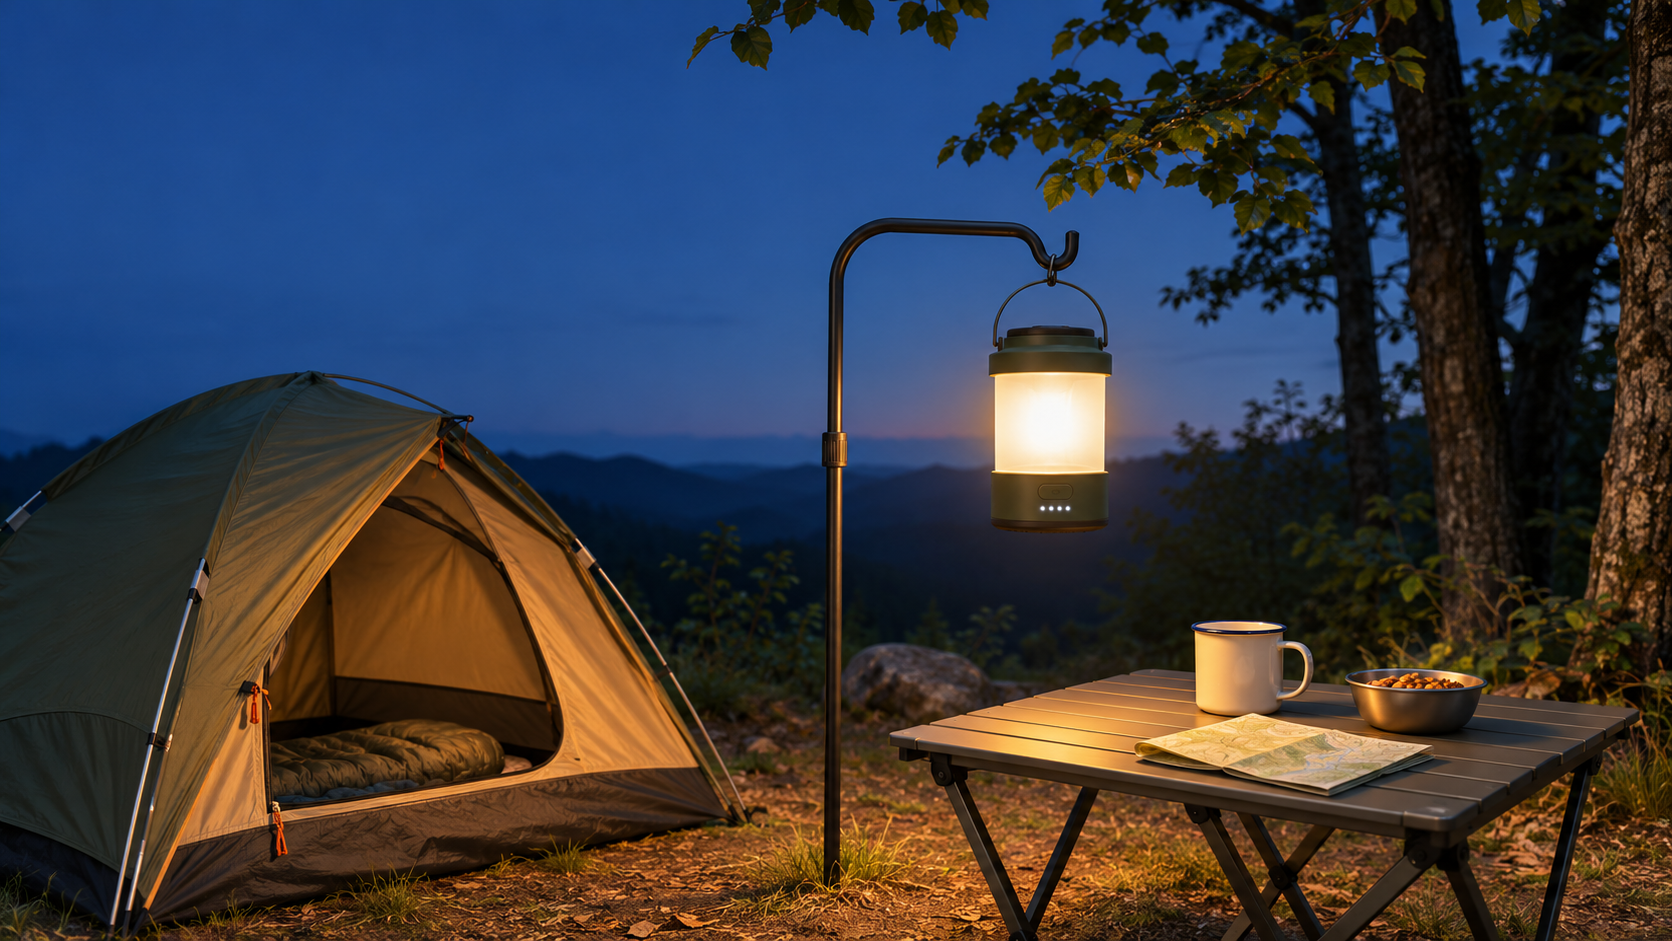
The short answer to how many lumens you need for a camping lantern is that there is no single number for every campsite. For close activities or ambient light, REI’s camping-lantern guidance notes that 100 lm or less may be sufficient in some situations. A shared table or larger activity area needs a separate judgment based on the task, lantern placement, light distribution and required run time. The highest lumen figure is not automatically the setting that will be most useful through an evening.
Start With What You Need to See
Camping lantern brightness should begin with the visual task, not with the largest number on the package. Looking for a zipper pull inside a tent, recognizing objects across a dinner table and helping people move around a shared activity area place different demands on the light. Use the lowest practical setting that reveals the task clearly, then adjust placement before assuming more output is necessary.
| Task | What the Light Must Reveal | Brightness Starting Point | Placement Check |
|---|---|---|---|
| Organizing gear or finding small items in a tent | Labels, zippers, bag openings and the immediate floor area | Begin low. For close activity or ambient use, 100 lm or less may be sufficient depending on the setup. | Check whether the lantern lights the bag or floor without shining directly into seated occupants’ eyes. |
| Close conversation or ambient lighting | Nearby people and objects without dominating the space | Start with the lowest setting that supports the conversation and nearby movement. | Look for direct-view discomfort and decide whether moving the lantern changes the result. |
| Shared table or simple meal preparation | Food, utensils, hands and the usable work area | Choose a setting after checking coverage and shadows across the real table. | Check whether dishes, hands or the lantern body block useful light at the table edge. |
| Larger shared campsite activity area | People, paths and the parts of the shared setup that need attention | Compare the needed coverage with the lantern’s placement and selected mode rather than choosing by maximum output alone. | Observe where the light actually lands and whether the shared activity creates new shadows or glare. |
Why Rated Lumens Do Not Tell You How Bright the Table Will Be
Lumens describe luminous flux: the visible light output quantity expressed in lm, as defined in CIE’s luminous-flux terminology. That rating is useful for understanding a lantern’s stated output, but it does not tell you exactly how much useful light reaches a plate, map, bag or tent floor.
The light arriving on a surface is described as illuminance and measured in lux, according to CIE’s illuminance definition. In camping use, distribution, distance, angle, lantern height and physical obstructions all affect the result. A bright glowing lantern can still leave a backpack interior or table corner hard to see. A diffuser or soft-light structure can change how light is distributed and transmitted; it does not create additional luminous flux by itself.
Tent and Table: Adjust Placement Before Turning Up the Lantern
In a tent, look from the normal seated or lying position and check the tasks that actually matter: locating equipment, opening bags or moving safely around the usable floor area. A lantern placed directly in the line of sight can feel harsh even when its output is not especially high. Moving it to a more useful location, or selecting a lower setting after repositioning it, can change the experience more than simply increasing the mode.
At a table, people, dishes and the lantern itself can create shadows. Hanging a lantern higher may widen coverage, but it does not automatically make the task surface better lit. Use only hanging points, supports and mounting methods allowed by the lantern and tent or shelter instructions.
Consider a single lantern at the center of a camp table. It may appear harsh from a seated person’s direct view while objects near the edge remain shadowed by dishes or hands. Moving the lantern, lowering its setting or adding another task-oriented light may be more useful than raising one lantern to its highest level. That does not mean every campsite needs two lights; it shows why placement belongs in the decision.
A Useful Low Setting Matters More Than a Very High Peak
A dimmable camping lantern can be easier to fit to changing tasks when its lower settings are genuinely useful for close work and its controls make the next setting understandable. A high peak can be valuable for a short need, but it does not replace a low setting that works comfortably inside a tent or beside a table.
Check how the settings are selected and whether the lantern’s behavior after switching off and on matches the intended use. Those details are product-specific. Do not assume that every lantern offers continuous dimming, remembers the last setting or uses the same control sequence without checking its documentation or observing the actual product.
Match Runtime to the Mode You Plan to Use
Maximum brightness and maximum runtime often describe different modes. They should not be combined into one assumed capability. For example, a lantern may list a very high output for a short interval and a much longer runtime for a low setting. The meaningful question is whether the mode selected for the tent, table or activity area has enough documented or observed run time for the intended period.
If documentation gives only one longest-runtime figure, it does not reveal how long a middle or high setting will last. Battery capacity alone also cannot predict comparable lighting time across different products. If a lantern is designed to share stored energy with another device, that use can affect available lighting energy; confirm that function and its conditions on the specific model.
A Practical Camping Lantern Selection Method
Use the following as a selection and communication method, not as a laboratory photometric test or a certification procedure.
- Choose one real task, such as reading equipment labels inside a tent or seeing utensils on a shared table.
- Place or mount the lantern according to its instructions, using the normal seating position and campsite arrangement.
- Start at a low mode and raise the output only until the task is clear enough to complete.
- Check direct-view discomfort, shadows and the effect on people sharing the space; then compare another placement if needed.
- Review the selected mode’s runtime information or observe the planned use period before deciding that the configuration is suitable.
Record the task, position, mode, planned use period and observations. A phone photo with automatic exposure is not reliable evidence of exact lumens, lux or a ranking between lanterns; camera processing and screen settings can change the appearance.
Turn a Brightness Request into a Clear Product Brief
For a brand or product team, “make the camping lantern brighter” is not yet a complete design direction. A clearer brief identifies the first task users must complete, whether the lantern is normally placed in a tent, on a table or elsewhere, the role of a daily-use mode versus a short high-output mode, the preferred adjustment behavior and the target use period. It should also describe where an existing sample creates glare, leaves shadows or is difficult to control.
This approach connects light distribution, control choices and routine use instead of treating brightness as an isolated number. For projects that need a defined product direction, SHENGQI LIGHTING can discuss OEM/ODM lighting development around the information available for the project.
Common Questions About Camping Lantern Brightness
Is a brighter camping lantern always better?
No. More output can be useful for a larger or more demanding task, but it can also create direct-view discomfort, unnecessary spill or stronger shadows. The better setting is the one that reveals the required area at the chosen position for the needed time.
Is one lantern enough for a shared campsite?
It can be enough when its placement and selected mode support the real activity area. If the group needs light in separate places at the same time, one central lantern may leave some tasks in shadow. Assess the actual layout rather than assuming one quantity works for every group.
Should I compare maximum lumens or the mode I will actually use?
Compare the mode you expect to use most often. Maximum lumens describe only one operating condition. For a meaningful decision, check whether the selected mode provides usable placement, understandable control and sufficient runtime for the planned task.
Choose for the Campsite You Will Actually Use
Begin with the task, test the lantern’s placement and choose the lowest setting that makes the task clear for the required time. Readers comparing product directions can browse SHENGQI LIGHTING’s camping lighting options as a starting point.
For a camping-lighting project, share the intended task, placement, dimming needs, expected use time and any reference sample with sales@shengqilight.com. Those details provide a practical basis for discussing an evaluable product direction.